The following procedure illustrates the steps to configure the institutional email on Mail for iOS (operative system from iPhone, iPod and iPad).
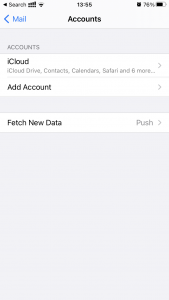
- Access device “Settings” and select the “Mail” application scrolling down. (optionally, one can search for the app on the search bar on top of “Settings”). Press “Accounts”.
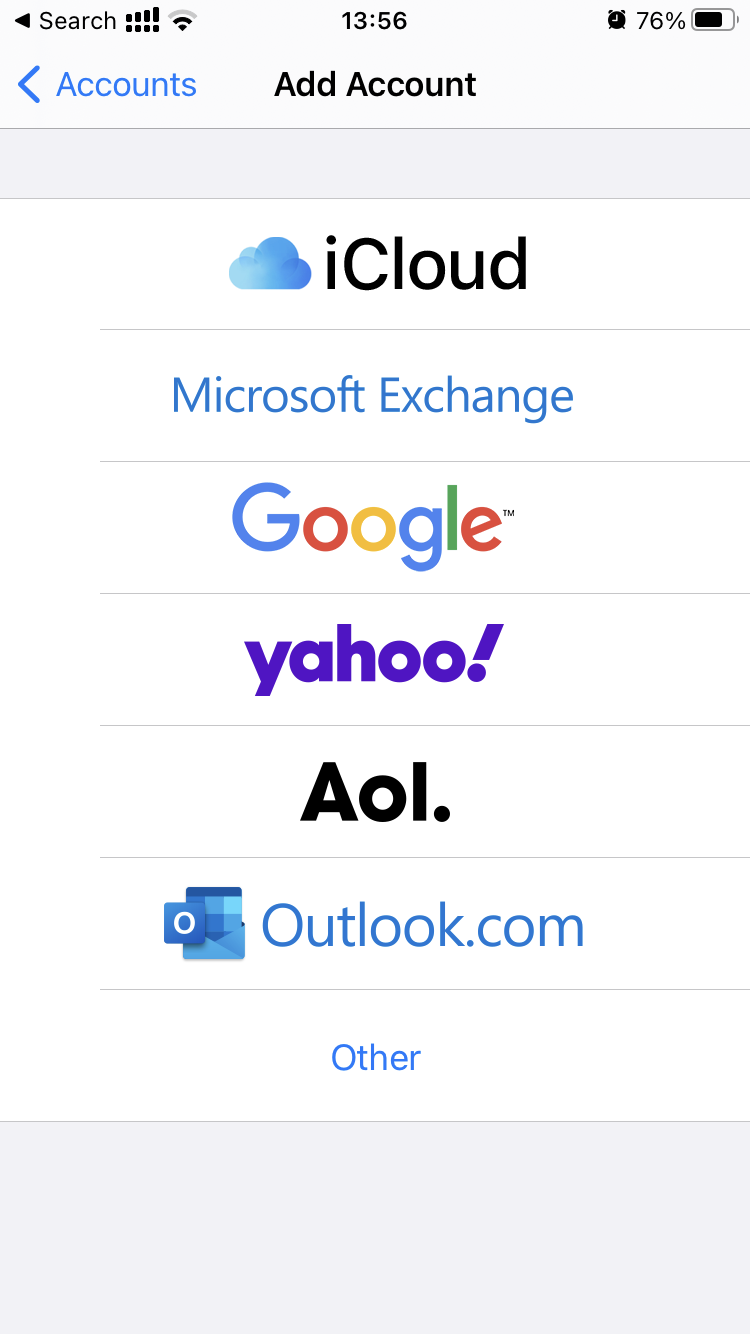
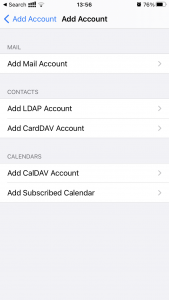
- Choose the option “Add Account” and then “Other”.

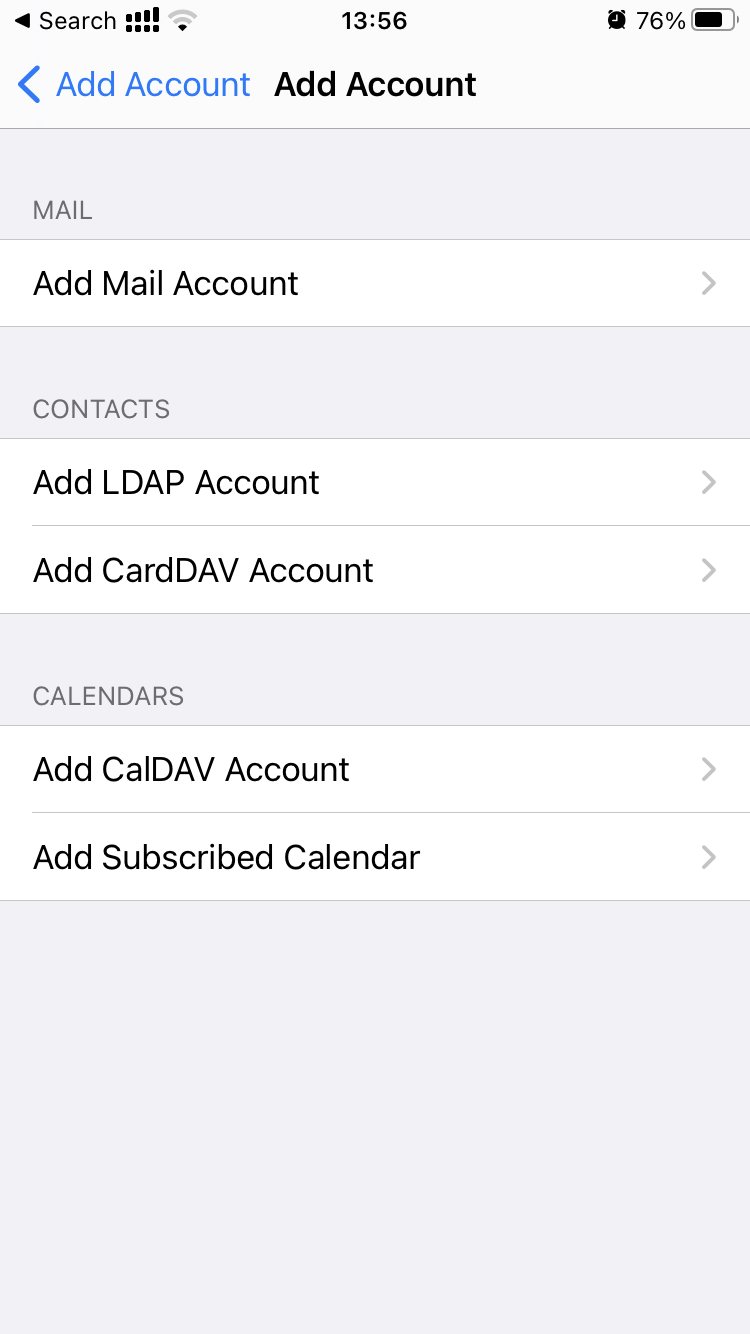
- Choose “Add Mail Account”.
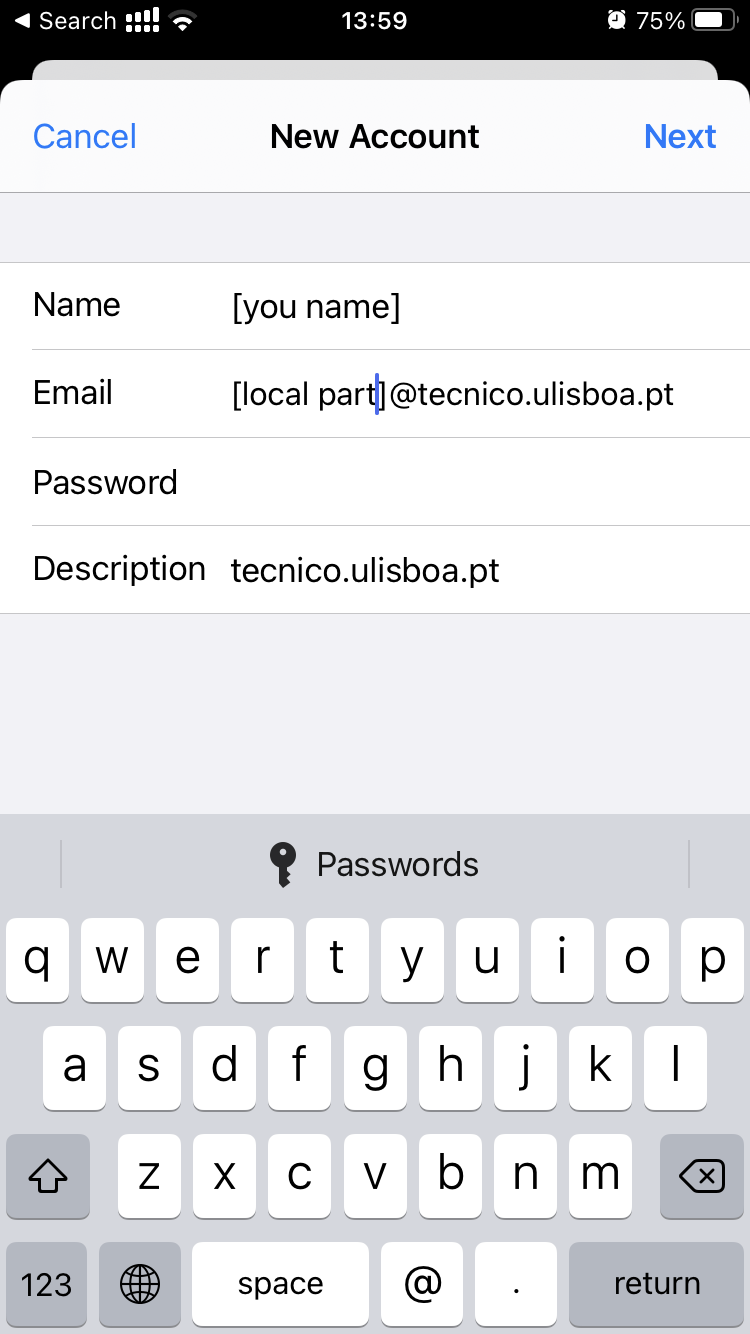
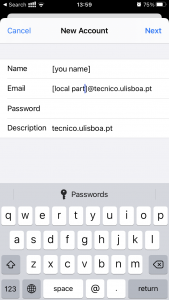
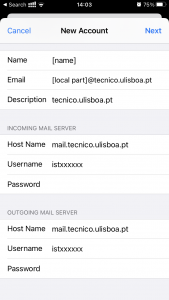
- In “New Account” fill the blanks:
- Name – name of the user configuring the email
- Email – user’s mail address (IST mail address)
- Password – password corresponding to your Técnico ID
- Description – tecnico.ulisboa.pt
Press Next.
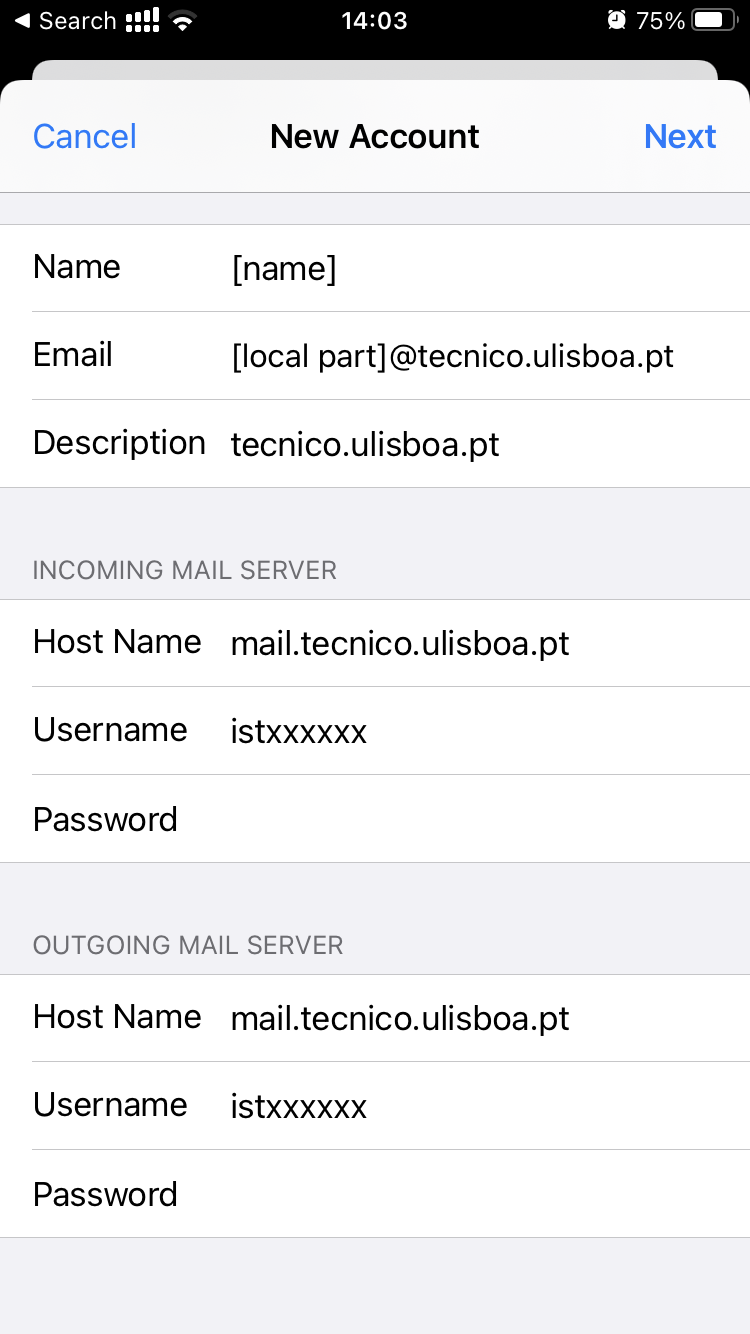
- With “IMAP” selected (top of this menu), fill incoming mail server blank spaces the following way:
- Host Name – mail.tecnico.ulisboa.pt
- Username – istxxxxx, where istxxxxx is the user’s Técnico ID
- Password – corresponding Técnico ID password
Fill outgoing mail server blank spaces the following way:
- Host Name – mail.tecnico.ulisboa.pt
- Username – istxxxxx, where istxxxxx is the user’s Técnico ID
- Password – corresponding Técnico ID password
Press Next on top of the menu.
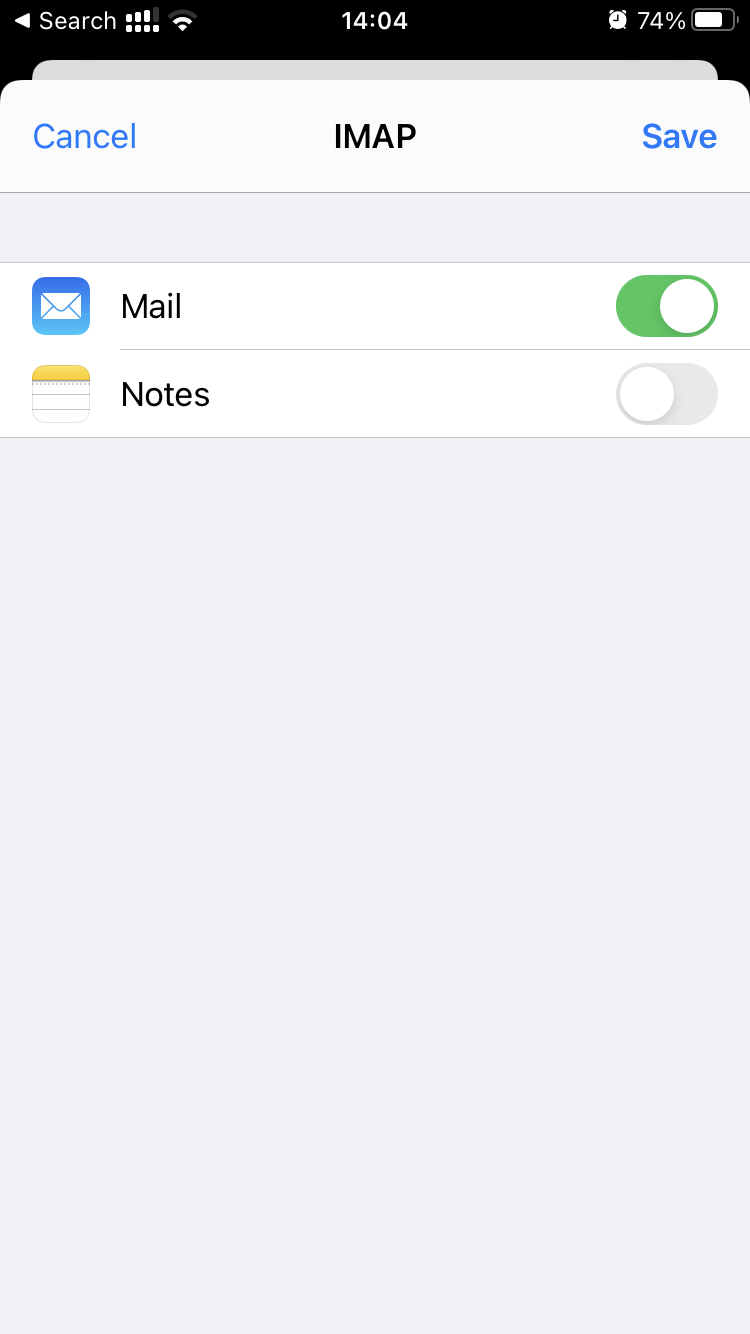
- In “IMAP” choose “Save”.
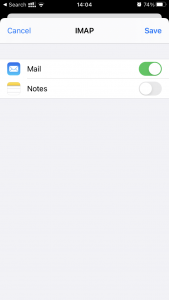
- Your Técnico email account is thus configured.