
These are the instructions to configure the VPN service on a Linux Ubuntu system (in this tutorial version 20.04 LTS was used).
1. In “Settings”, click on “About” and then on “Software Updates”.

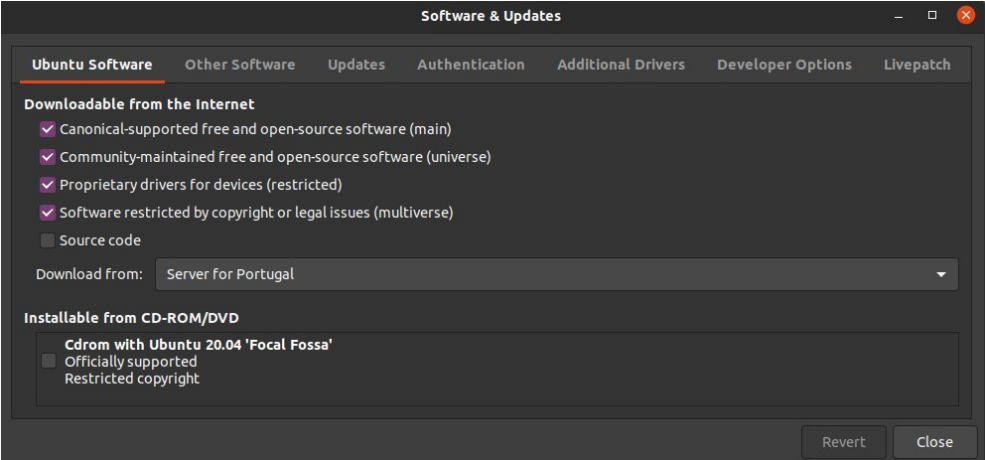
2. Add “universe” source in the “Ubuntu Software” tab. Click “Close”.
3. Download the configuration file tecnico.ovpn
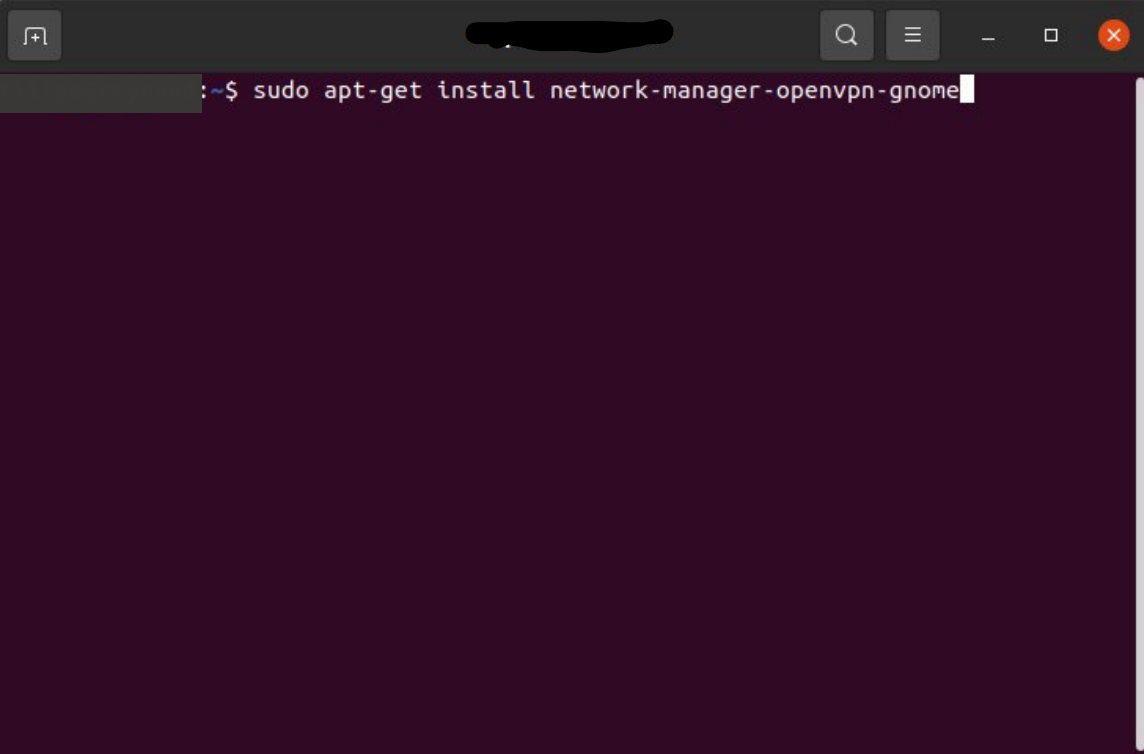
4. Open Terminal App and run the following command:
>$ sudo apt-get install network-manager-openvpn-gnome
Confirm with “Y”.
5. Go to “Settings” again and click on “Network”. Search for the “+” icon near “VPN” and double-click on it.
6. Choose the option “Import from file…”.
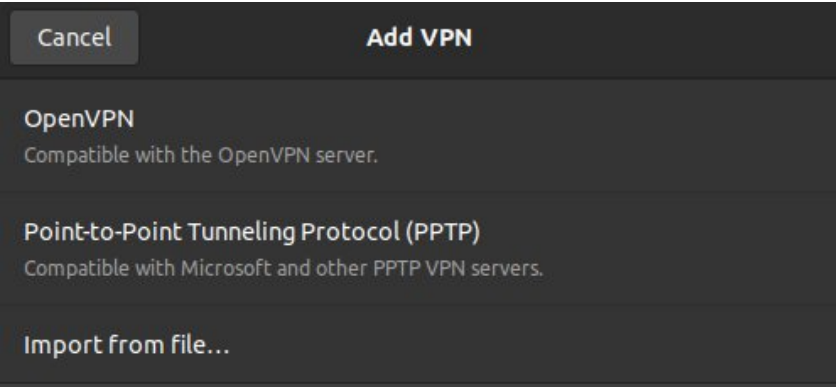
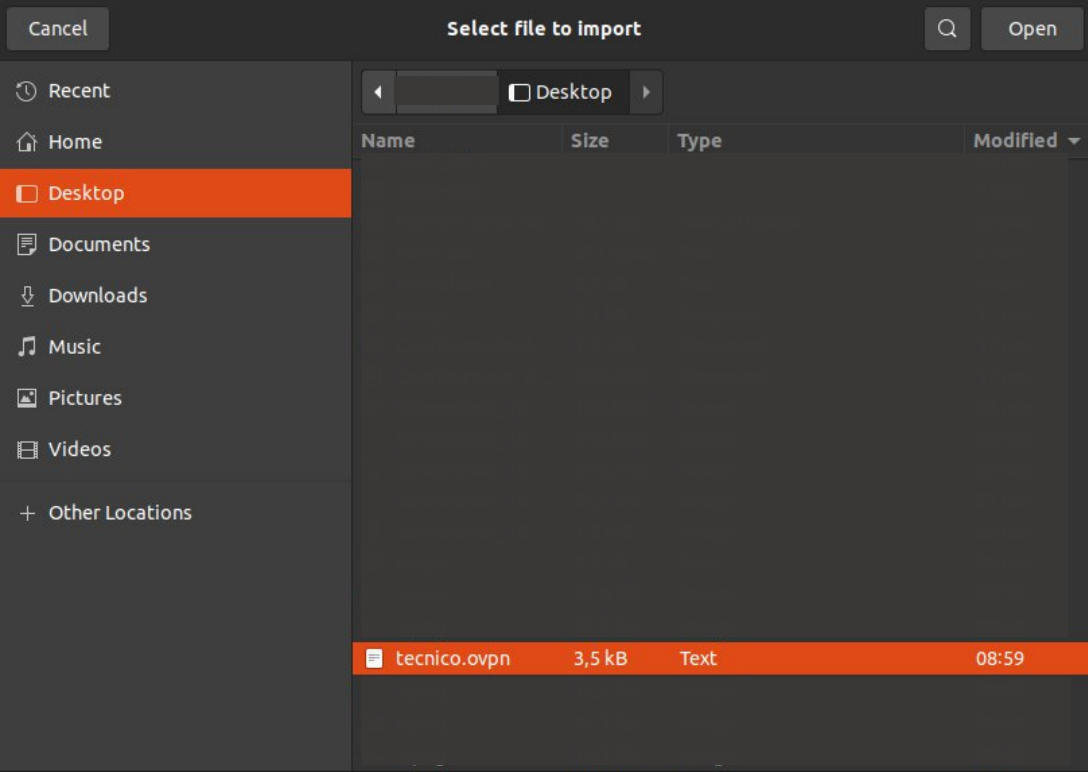
7. Select the previously downloaded file tecnico.ovpn. Click “Open”.
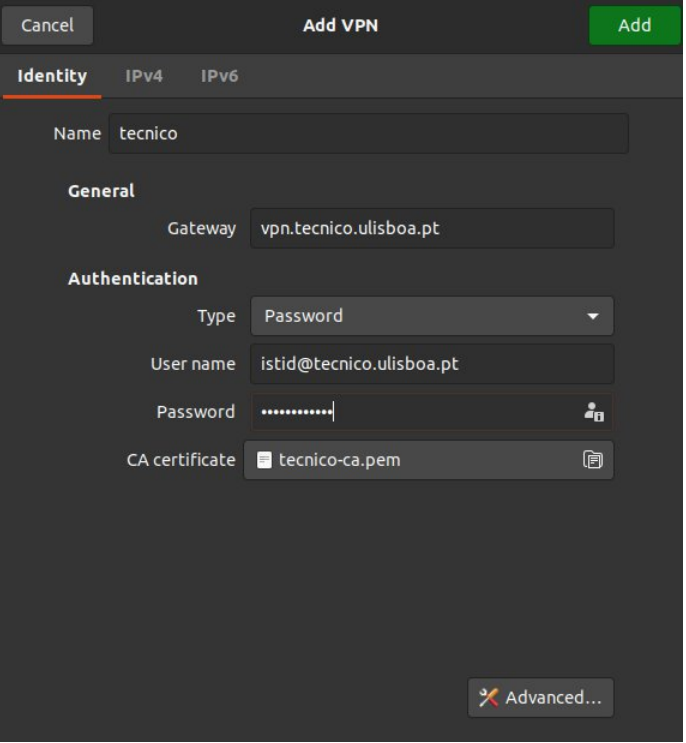
8. Fill in the authentication fields:
- “User name”: insert istxxxxx@tecnico.ulisboa.pt, where istxxxxx corresponds to the Técnico ID.
- “Password”: insert the password associated with Técnico ID.
9. Turn on the connection created.
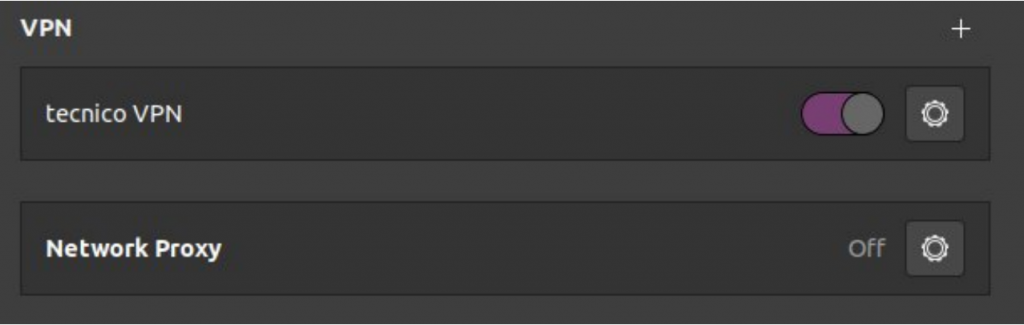
10. Set up is complete.
