
In the following sections, you can follow the instructions to install and configure OpenAFS in Windows 10.
Note: Before this process, you must install and configure the Kerberos on your computer.
Installing OpenAFS in Windows 10
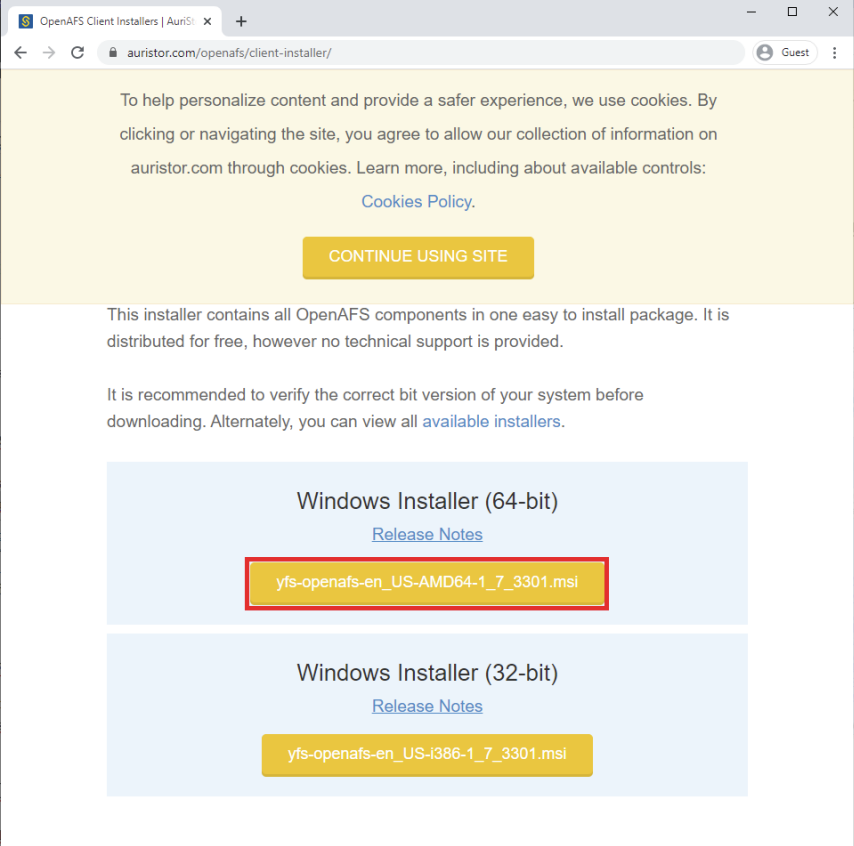
1. Open the browser and access https://www.auristor.com/openafs/client-installer/. Click in the yellow box below “Windows Installer (64-bit)” to download the installer.
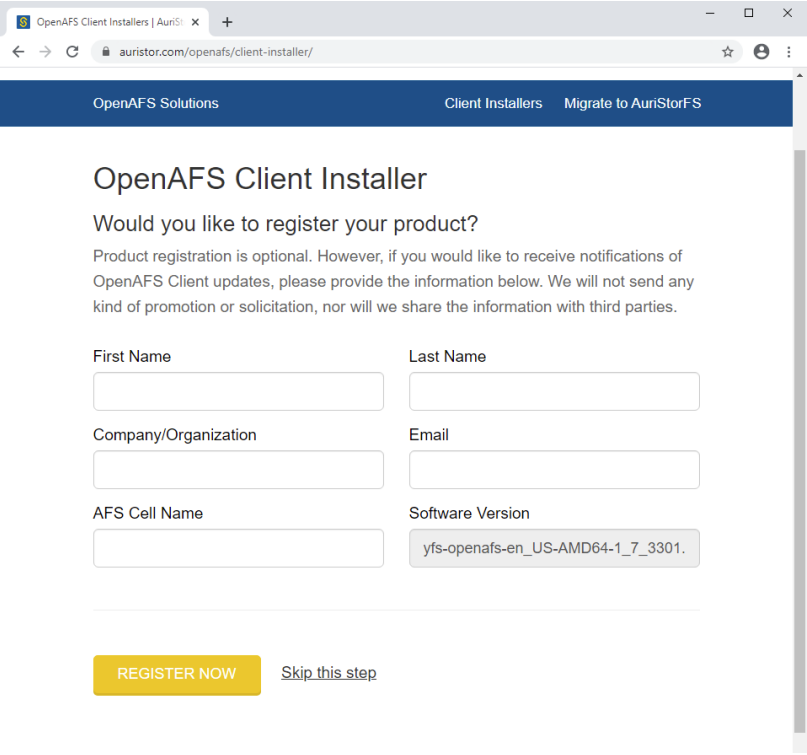
2. Click “Skip this step” to start downloading the installer.
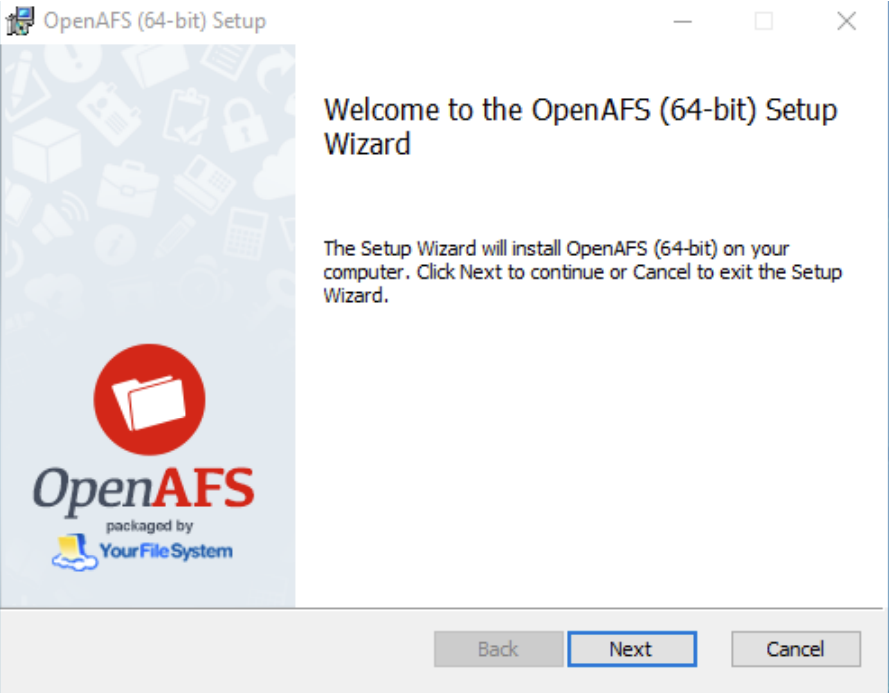
3. Once the download is finished, click on the installer. Click “Next”.
4. Choose the option “I accept the terms in the License Agreement” and then click “Next”.

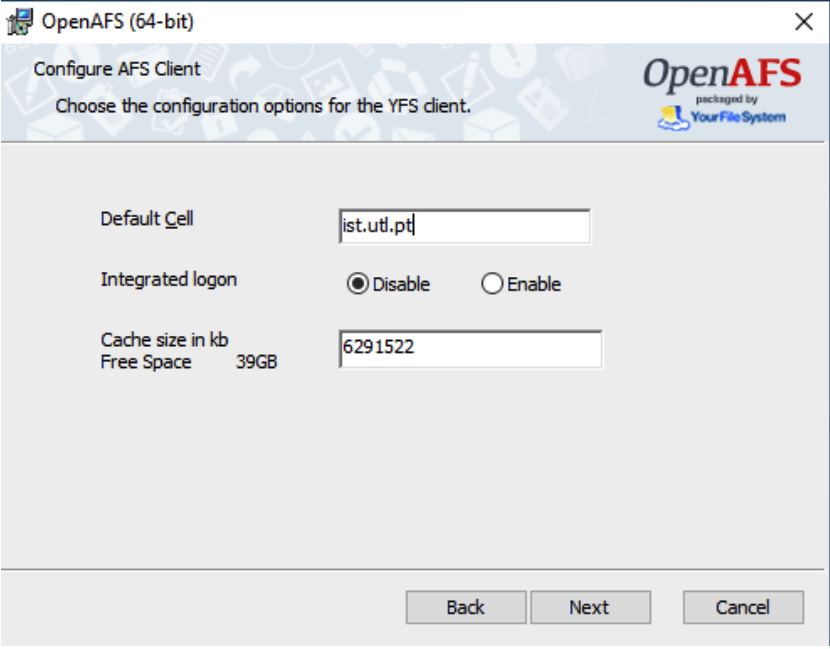
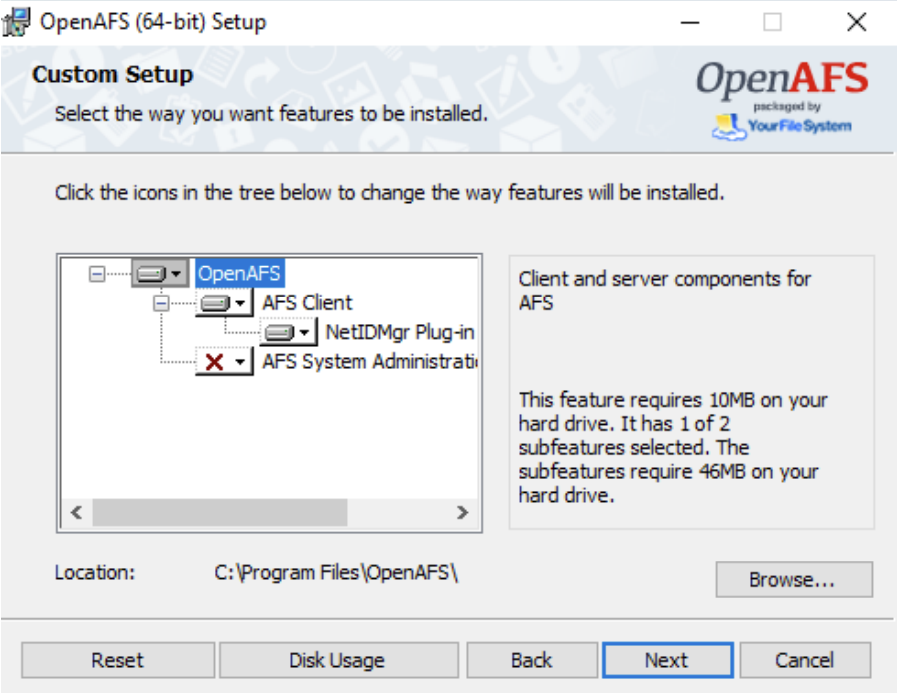
5. Fill the field “Default Cell” with ist.utl.pt . Click “Next”.
6. Click “Next”.
7. Click “Install” to start the installation process.

8. Once the installation is finished, click “Finish”.

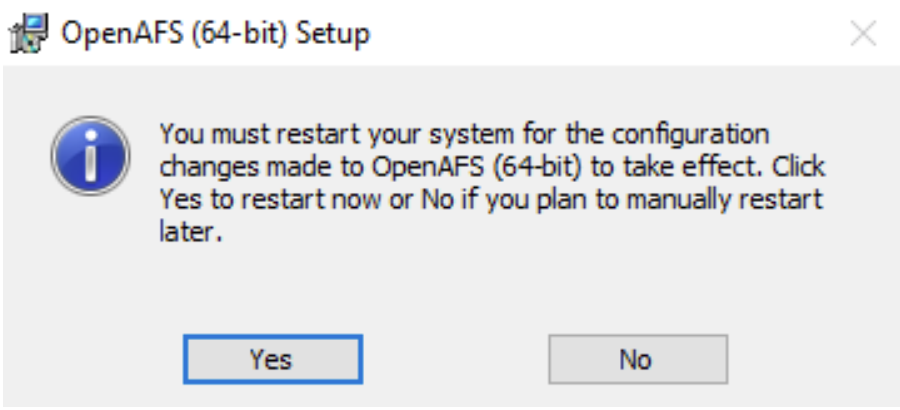
9. After the installation is concluded, it is requested that the user restarts the system. It is recommended to restart the system, by clicking “Yes”.
At this point, the AFS client is installed in the system.
Configuring OpenAFS in Windows 10
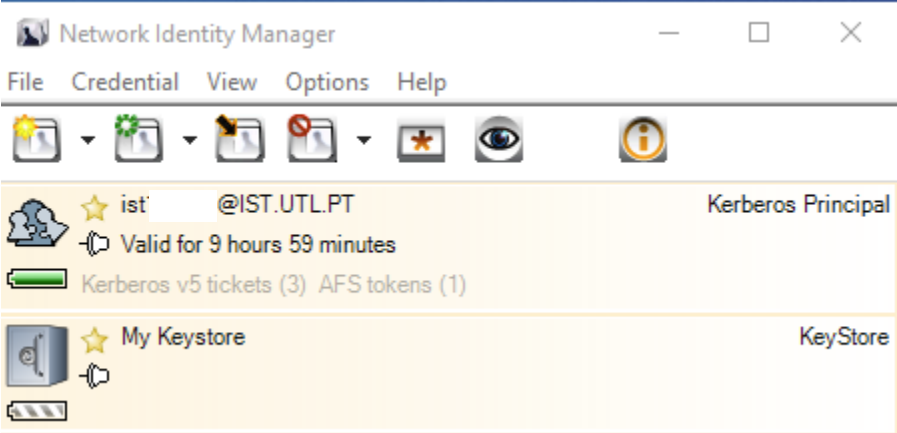
1. To configure AFS, open Network Identity Manager to see if you have a valid Kerberos ticket in your system, just like in the following image. We can see that we also have an active AFS token.
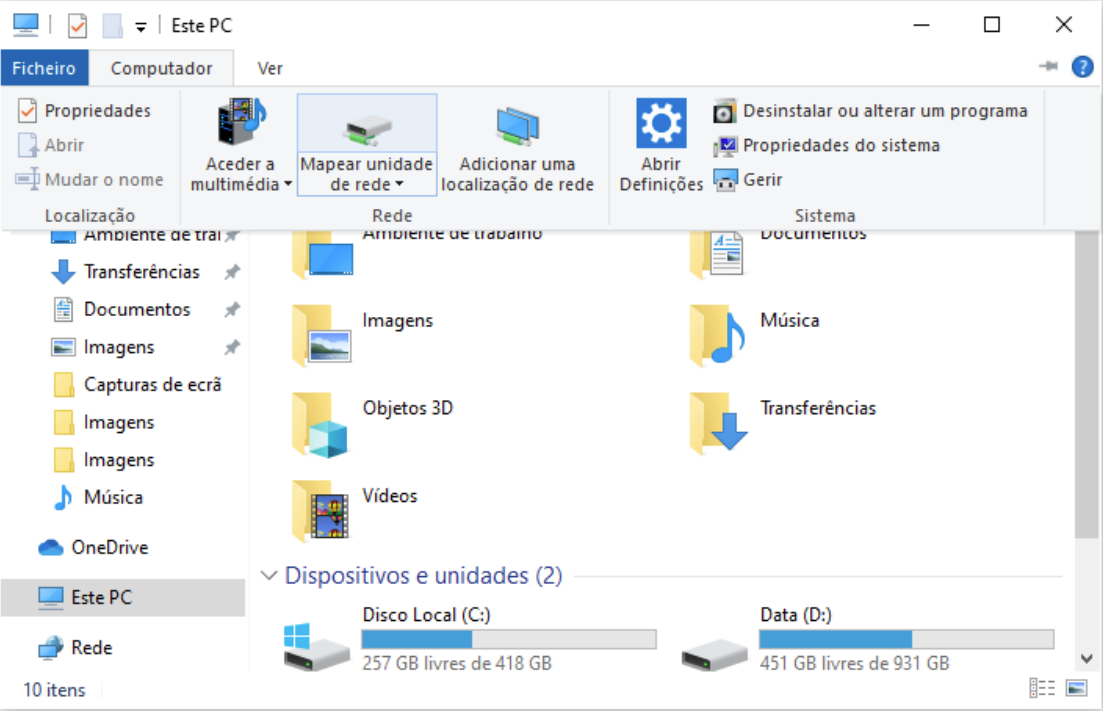
2. Open the file explorer and click on “This PC”. In the top bar, click on “Computer” and then “Map network drive”.
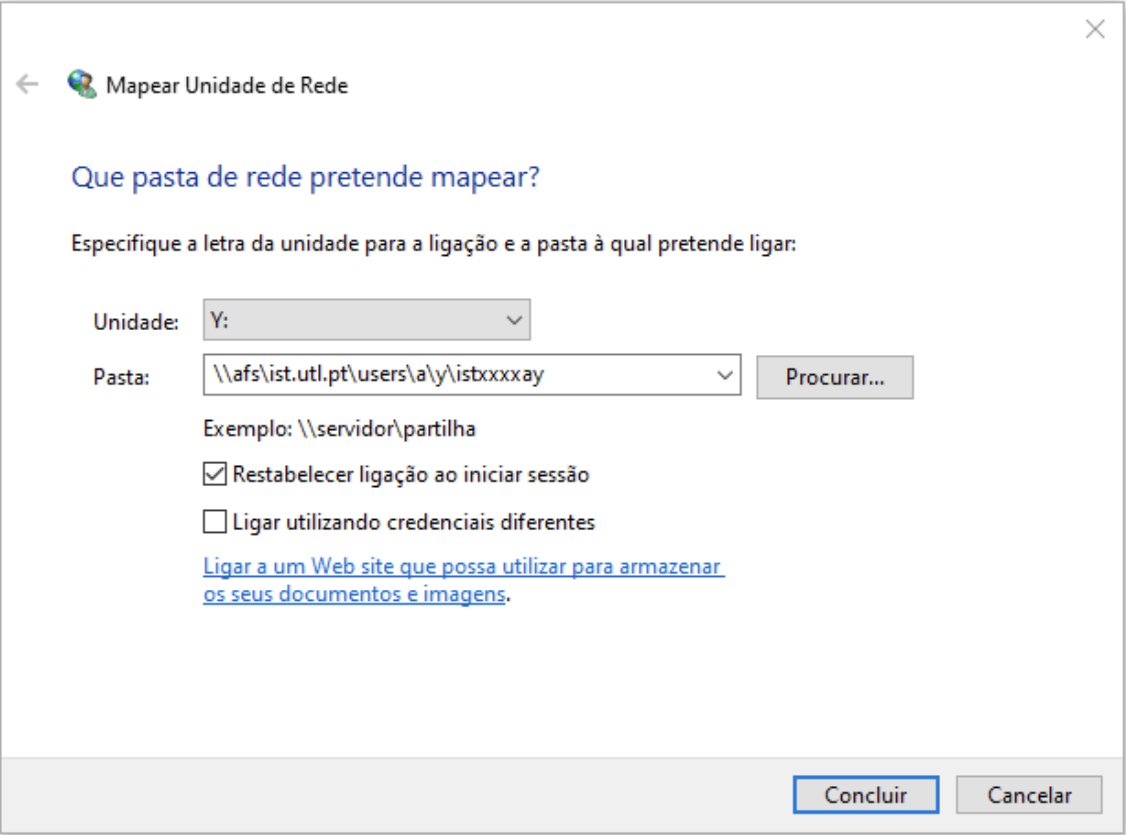
3. In “Folder”, write the following address “\\afs\ist.utl.pt\users\a\y\istxxxxay”, where:
- a represents the second-last number of your Técnico ID
- y represents the last number of your Técnico ID
- istxxxxay corresponds to your Técnico ID
After that, click “Finish”.
4. At this point, you already have access to your area in the AFS system.

5. From this point, to access your AFS area, you only have to open de File Explorer, click on “This PC” and open the network drive that you have mapped.
