
The following instructions refer to the configuration of the wireless network in the Android operating system. This tutorial is based in the Android 12.
1. Open the “Settings” menu in your device. Then, click in the “Wi-Fi” option or similar. Click in the “tecnico-guest” network to connect. After being connected to the “tecnico-guest” network, open the browser and access the following address to download the certificate: https://si.tecnico.ulisboa.pt/configuracoes/cacert.crt

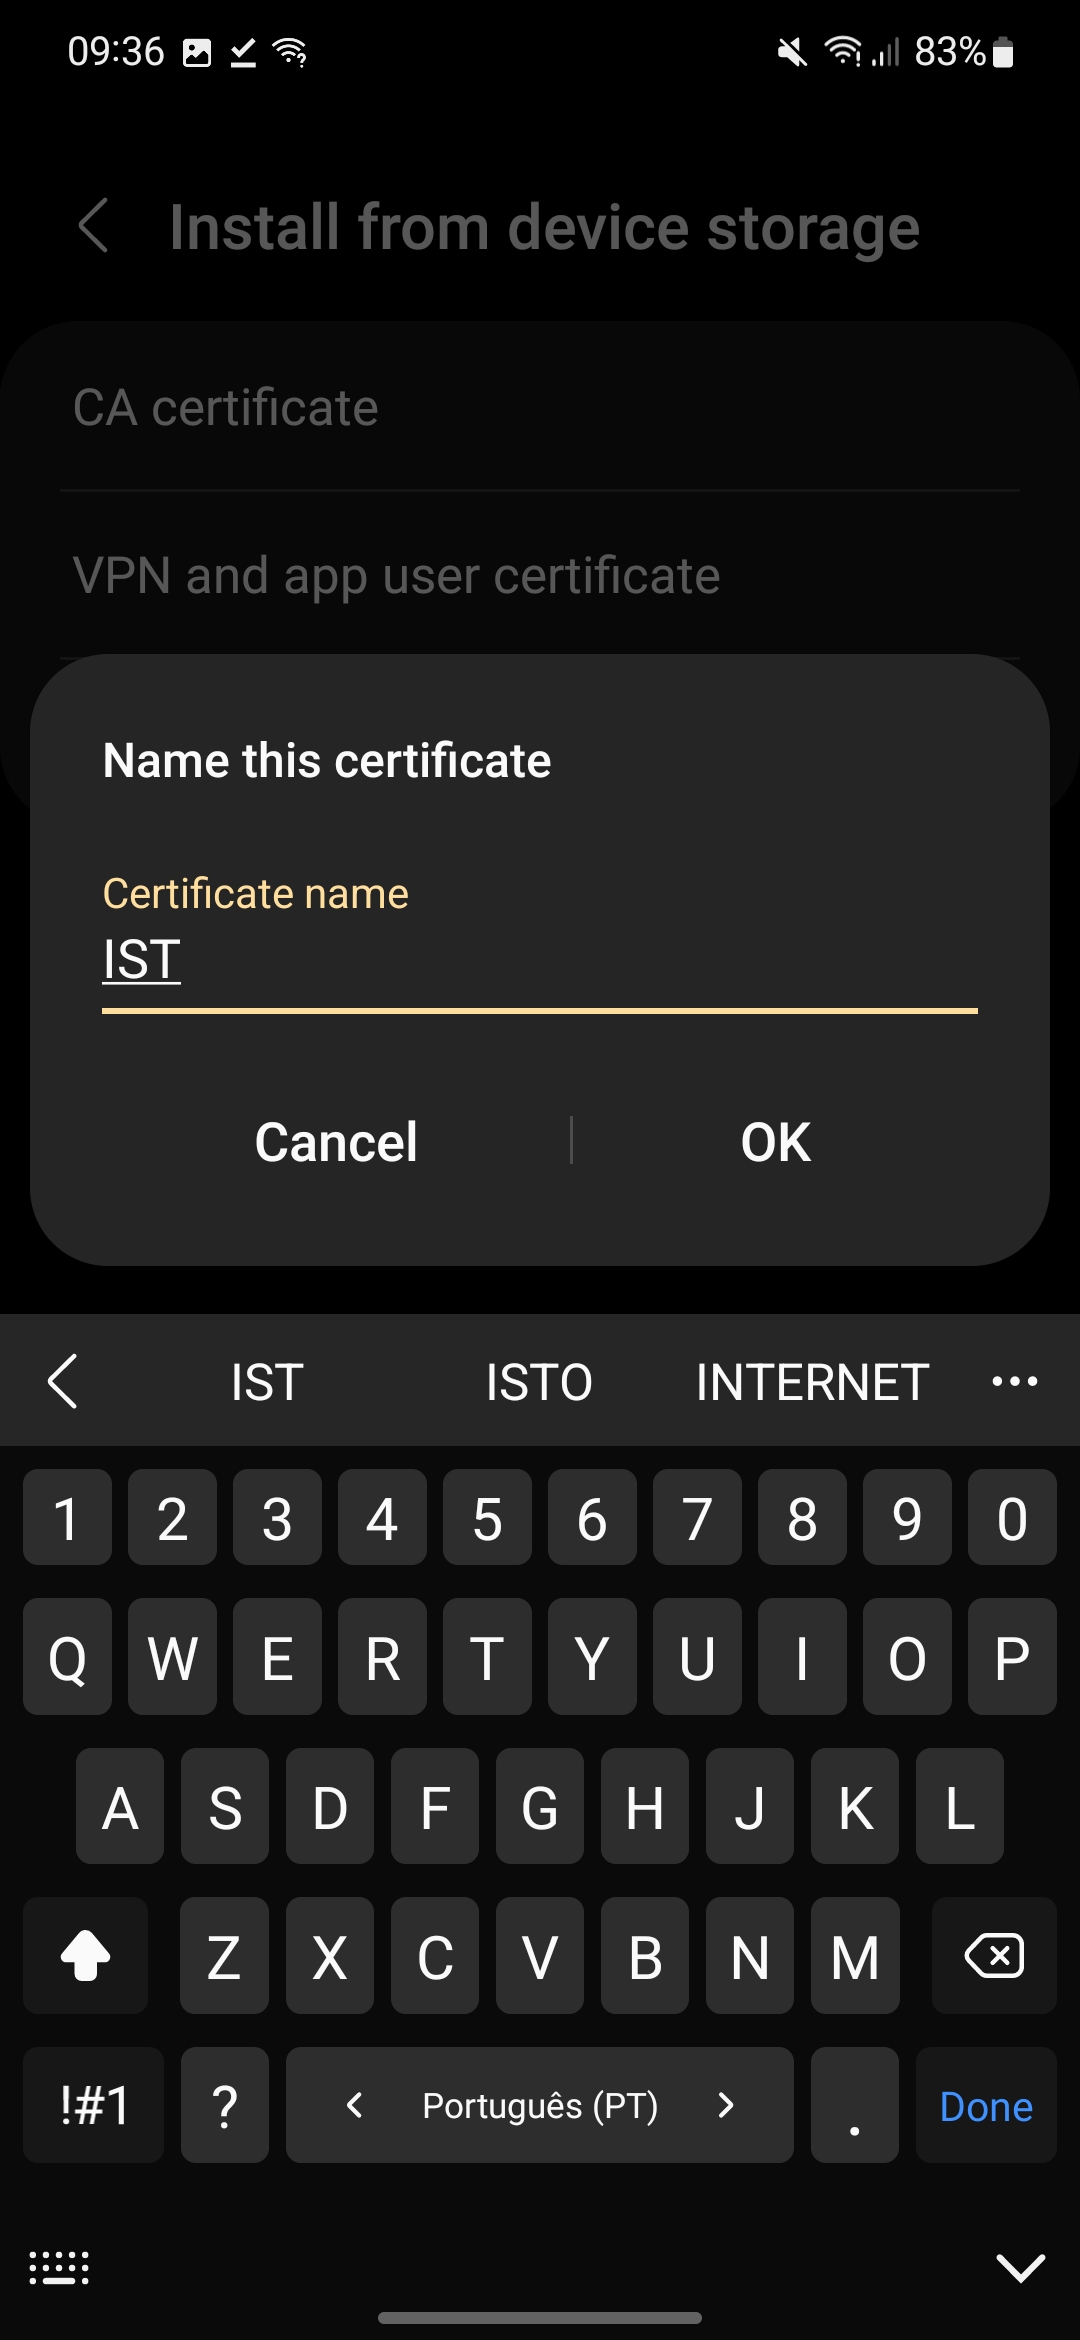
2. As soon as the certificate is downloaded, a pop-up window will appear, where you must fill the fields:
- Certificate name: IST
- Credential user: Wi-Fi (or similar)
Note: In different Android versions, this options may vary slightly.
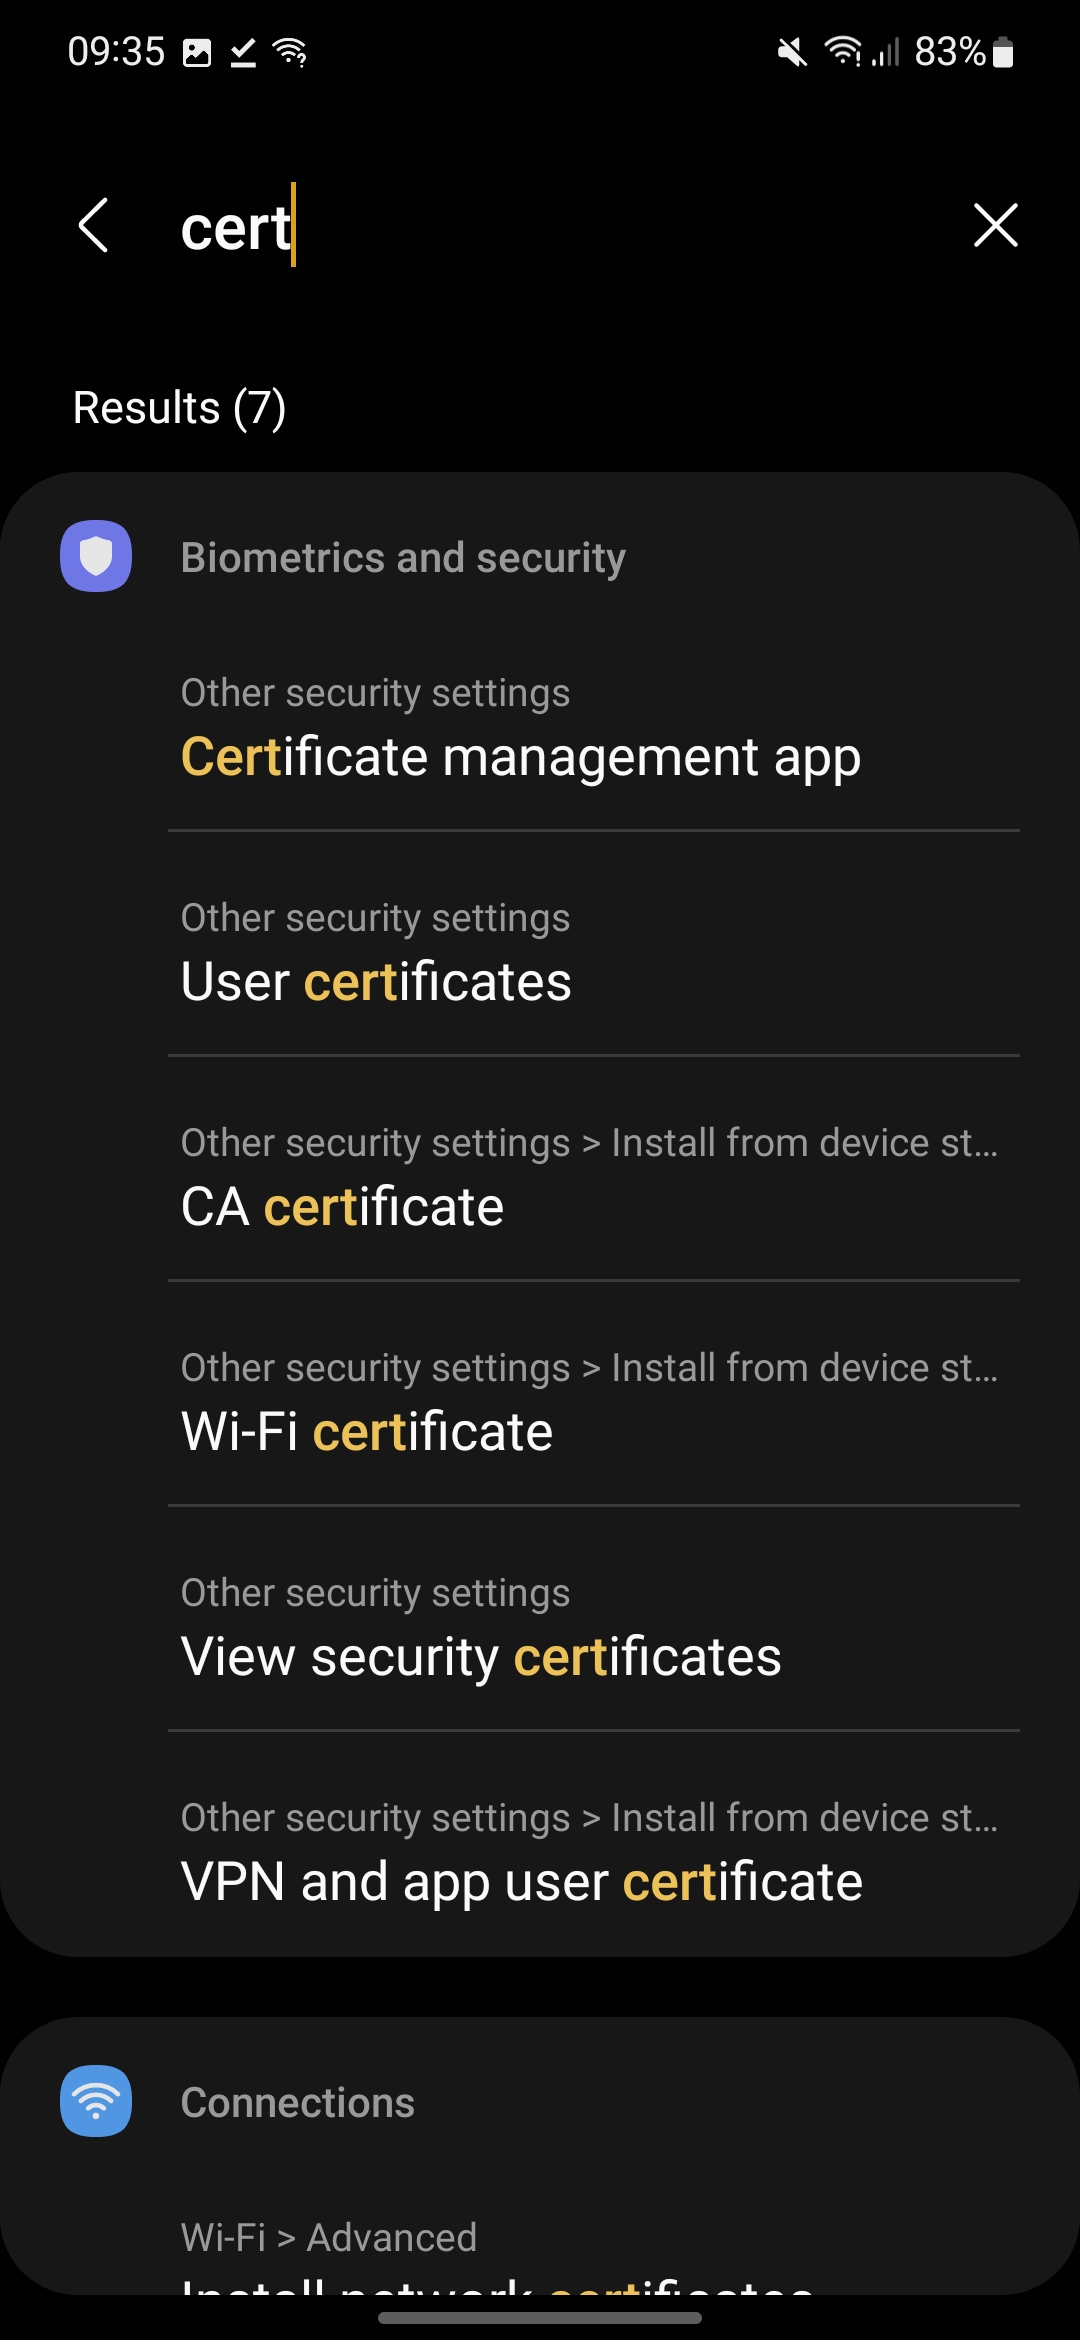
3. (Optional) If a warning message pops up refering that the certificate must be installed in Settings, follow the steps:

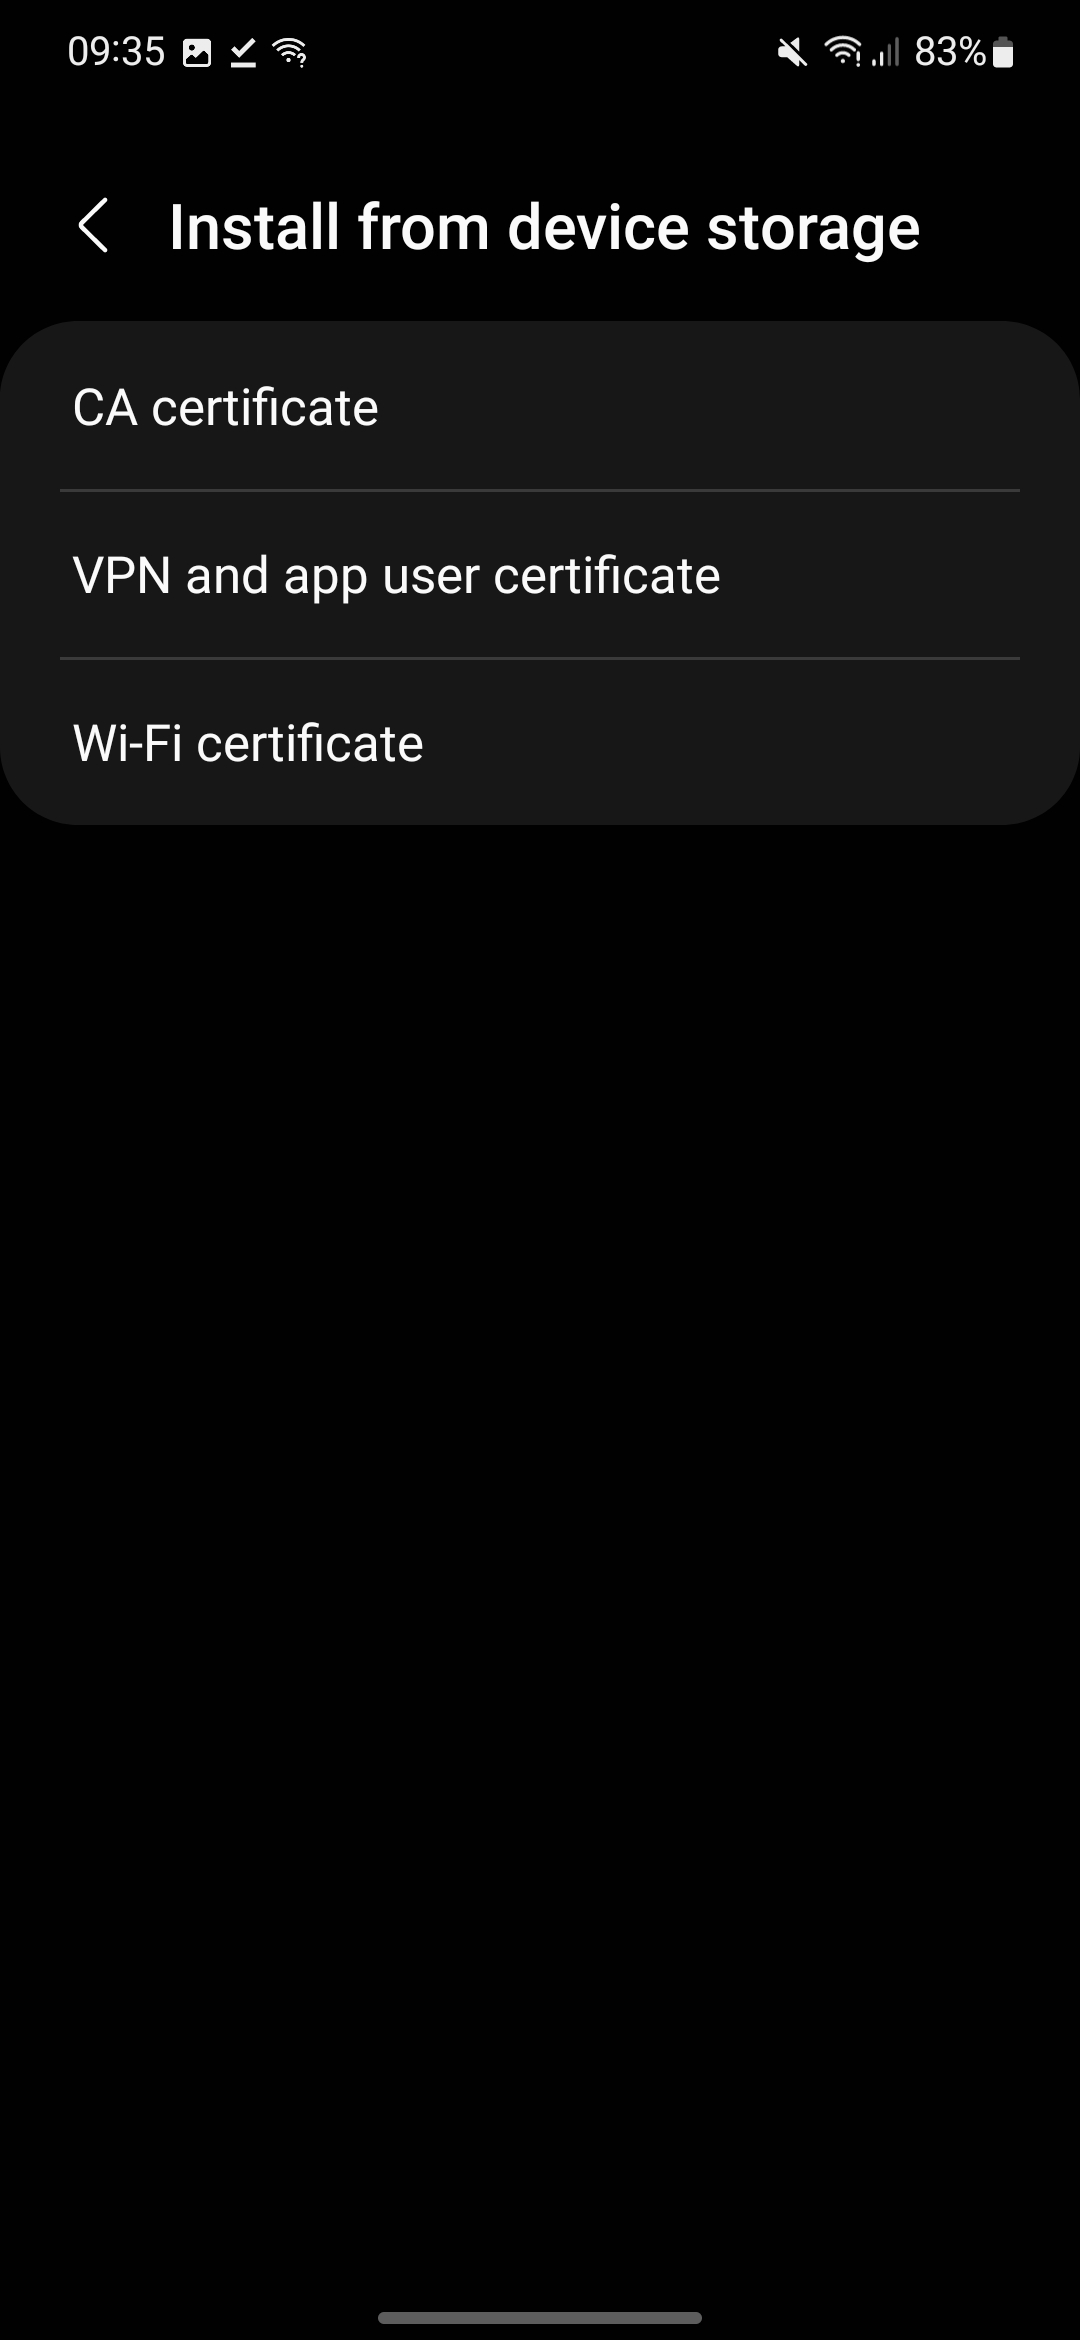
- 3.1. Open “Settings” and search for “cert”. Click em the “Wi-Fi certificate” option. Alternatively, in “Settings”, go to the “Security” tab and choose “Install from device storage”.
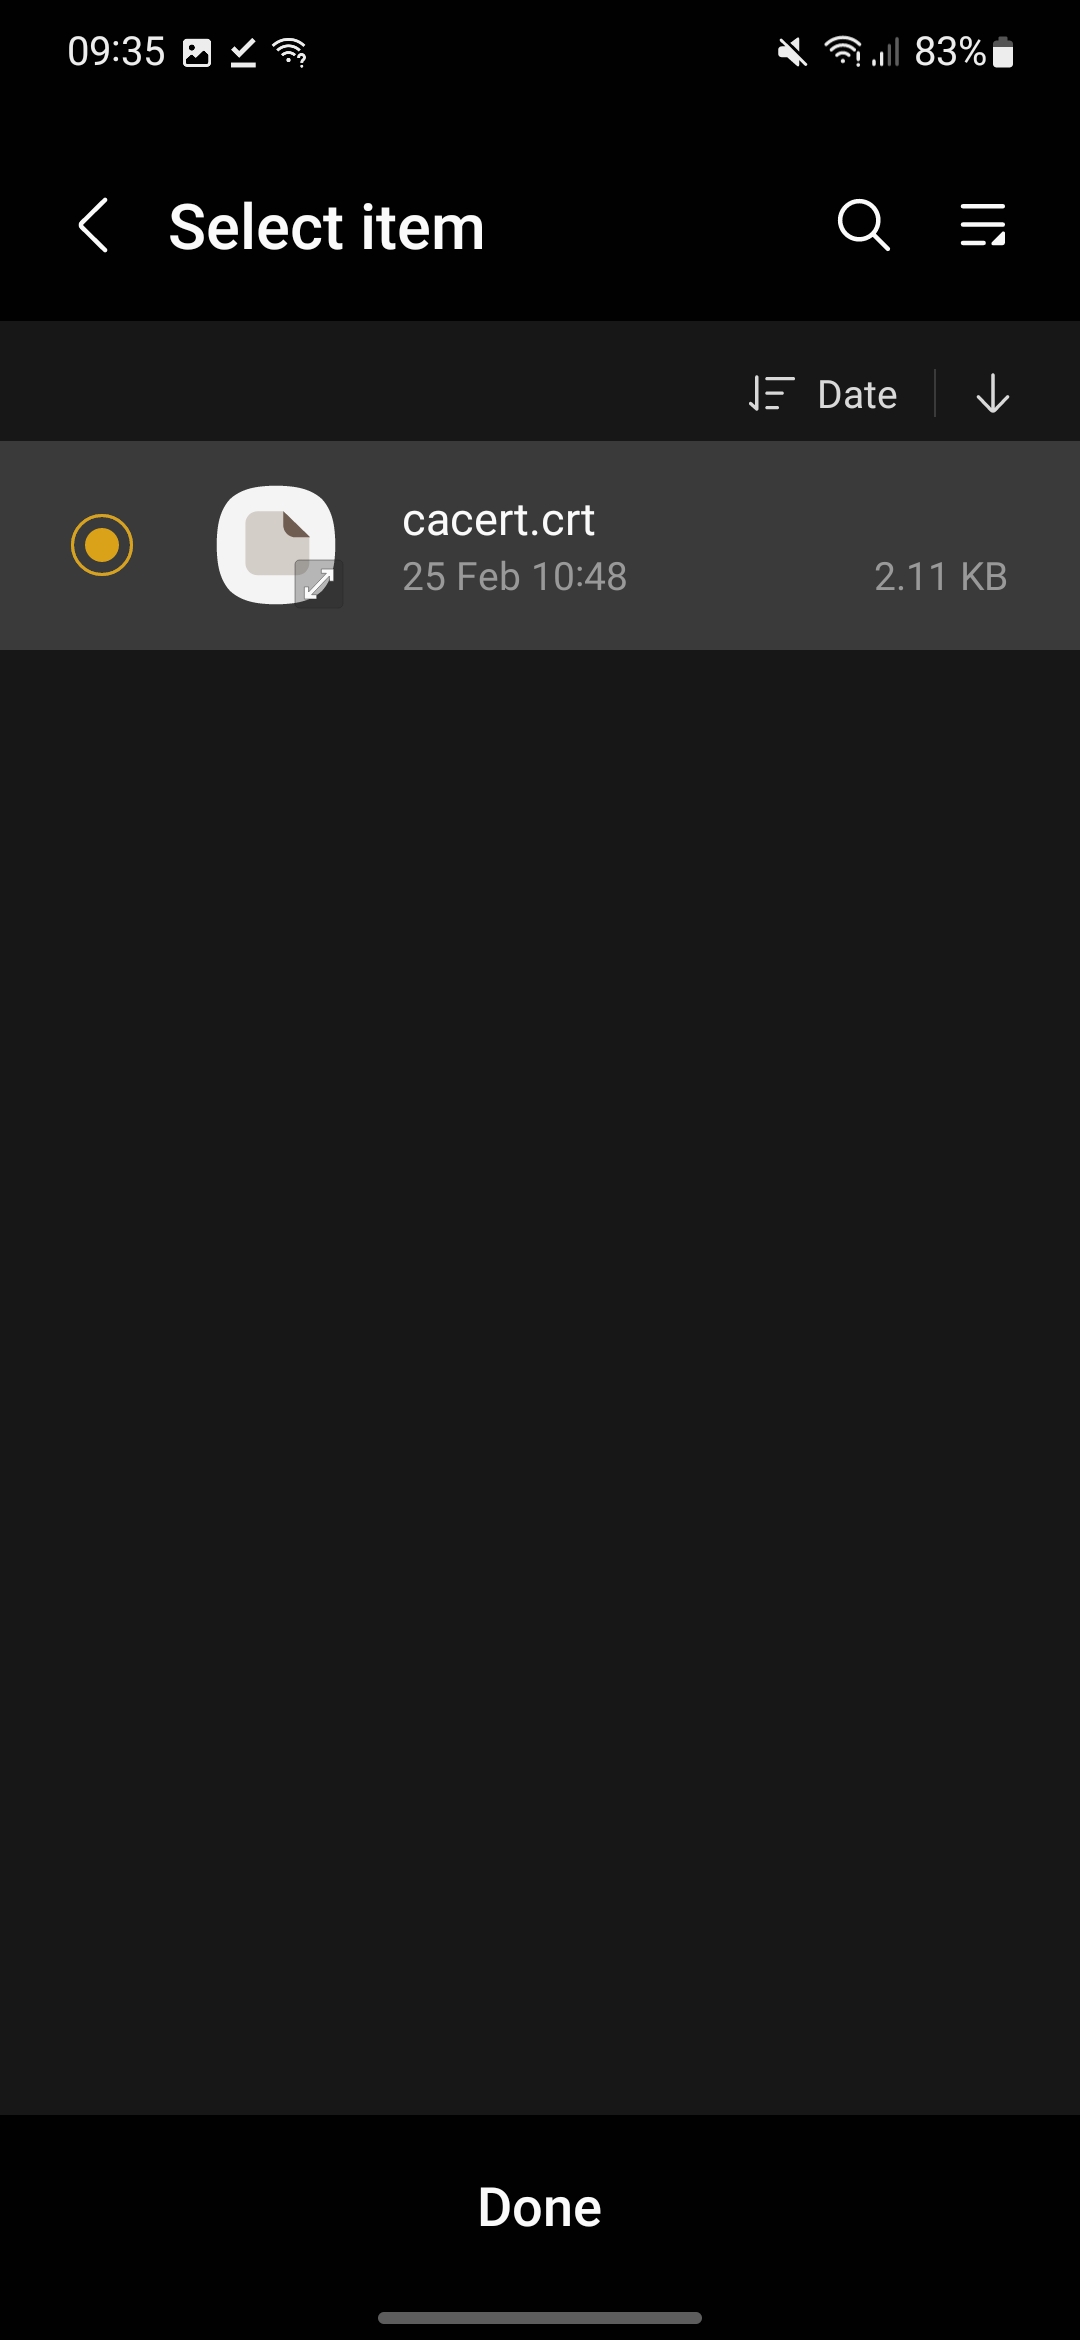
- 3.2. You should choose the “Wi-Fi certificate” option and then choose the certificate that you downloaded – “cacert.crt” (usually it is stored in the “Downloads” folder). The, follow the instructions of step 2.
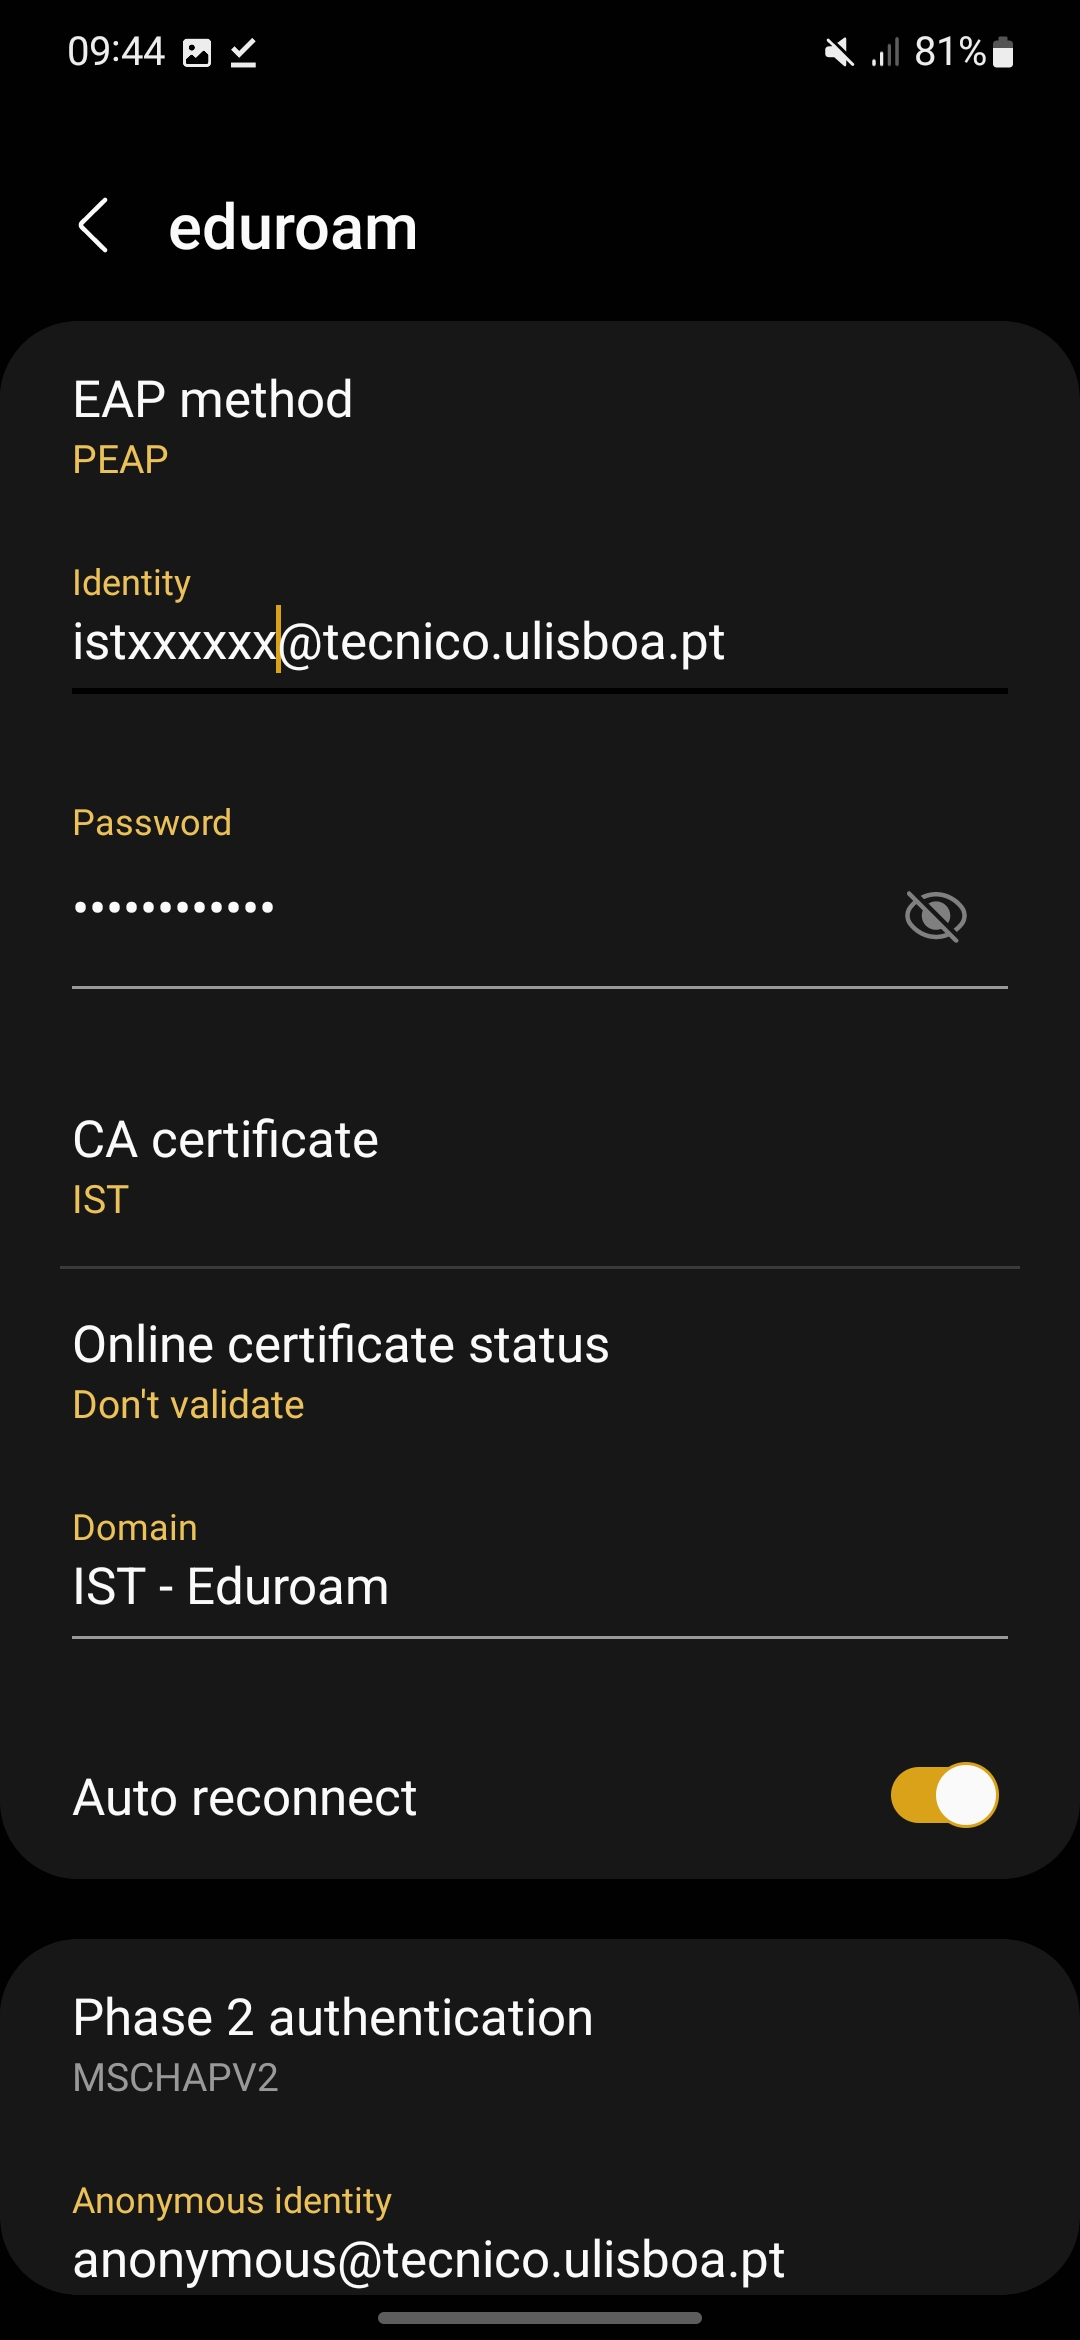
4. Then, open the wireless networks menu again. Now, choose the “eduroam” to connect. You must fill the following fields (some may be hidden in the “Advanced” tab):
- EAP Method: PEAP
- Identity – istxxxxx@tecnico.ulisboa.pt, where istxxxxx corresponds to your Técnico ID
- Password – password corresponding to your Técnico ID
- CA certificate: IST (certificate that you downloaded)
- Online certificate status: Don’t validate
- Domain: IST – eduroam
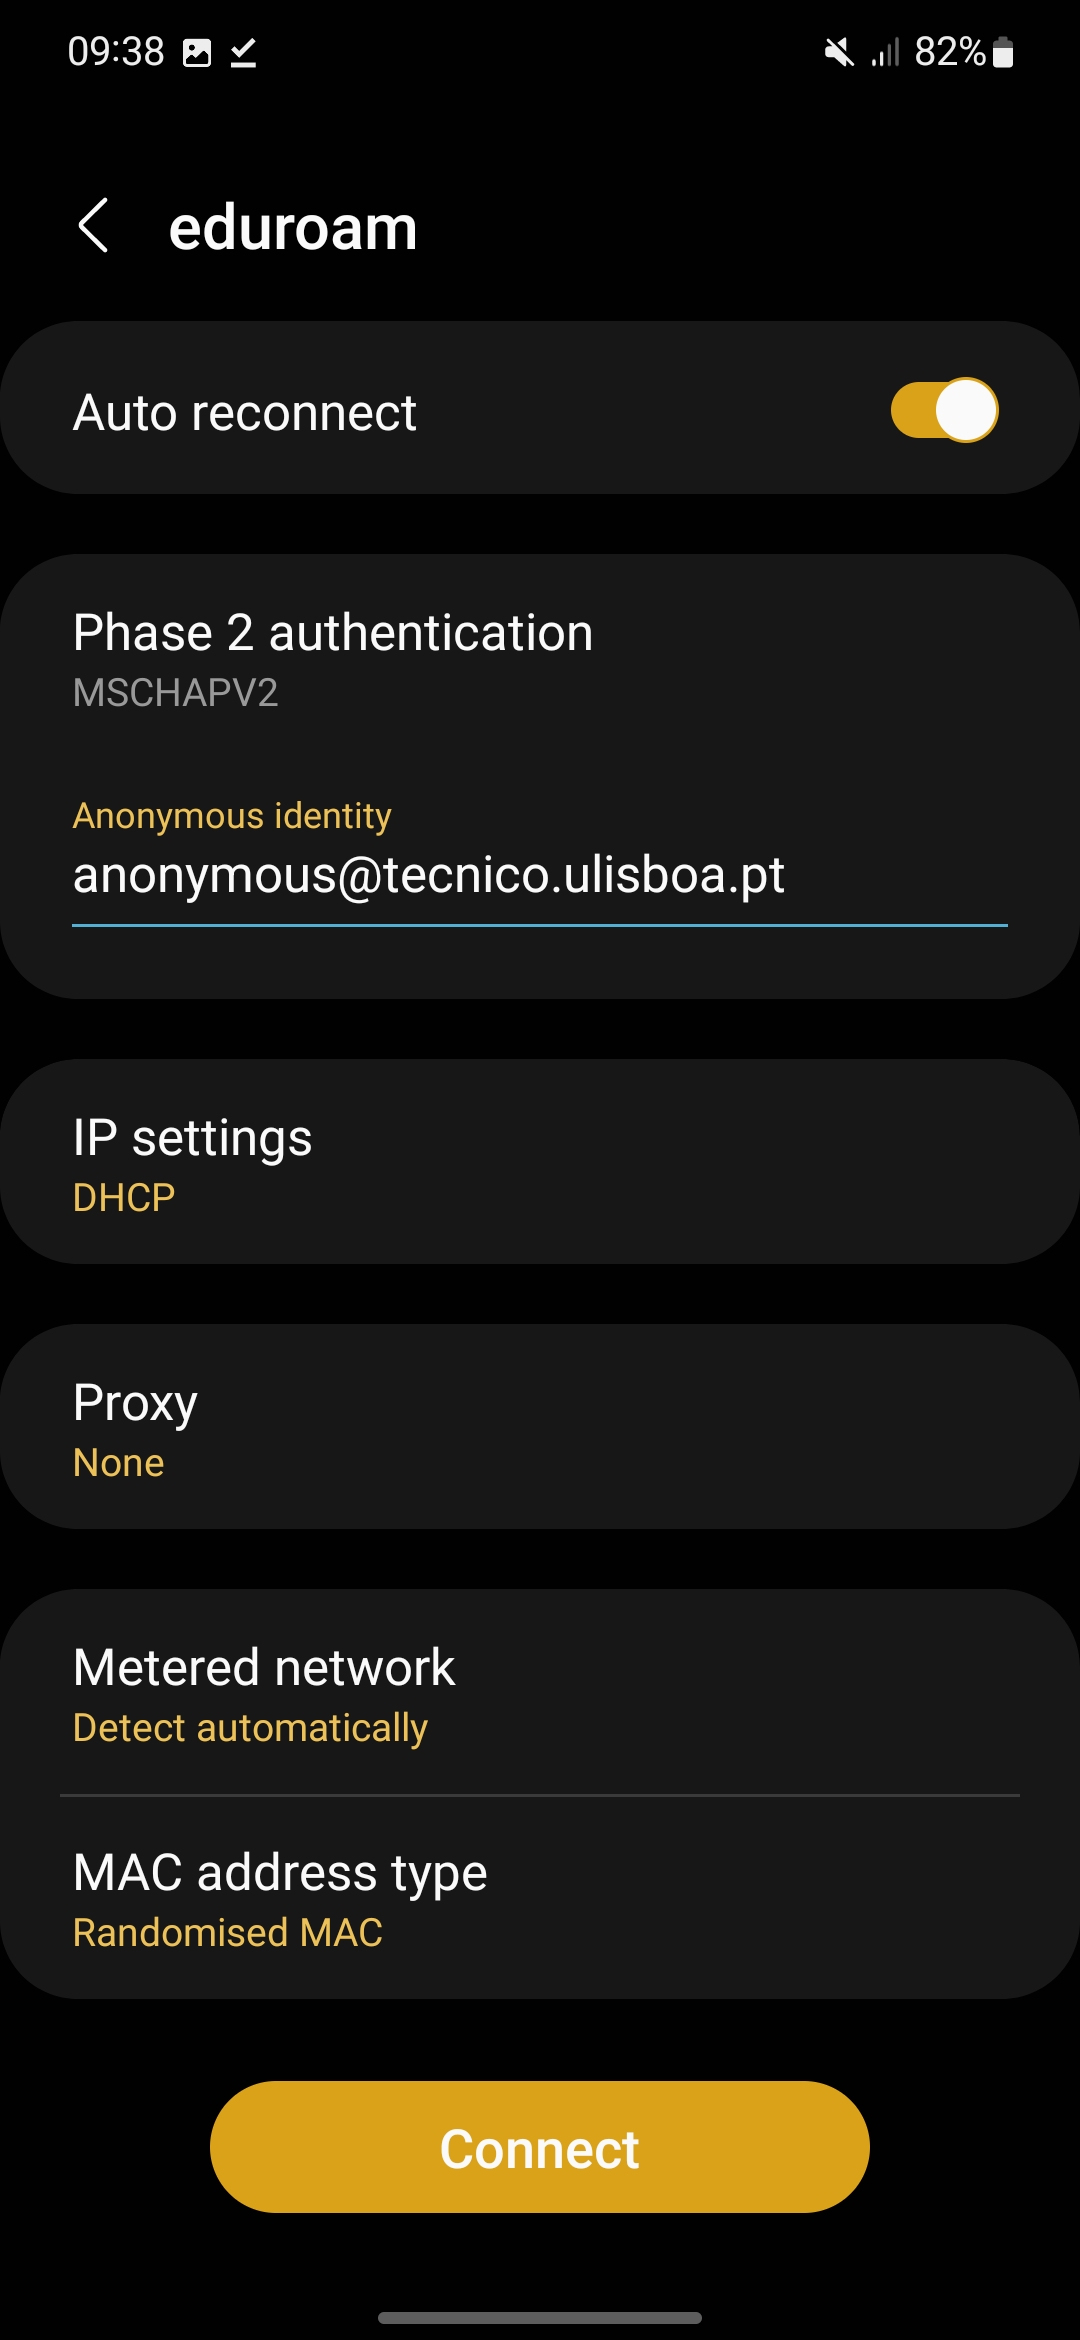
- Phase 2 authentication – MSCHAPv2
- Anonymous Identity – anonymous@tecnico.ulisboa.pt
Click “Connect”.
5. The “eduroam” wireless network should now be configured in your device.